Pandalism
Felix DMR's Blog
Programming, Electronics, Autonomous Vehicles and other interests!
Copyright © 2023 Pandalism
29 May 2019
Photography in general is a fascinating subject, the science behind it all is pretty crazy, so when I came across an article on how to turn your DSLR into a pinhole camera, I naturally obliged.
Pinhole Photography
The principle of using a pinhole as a lens is quite old, often associated with the old lensless Camera Obscuras (clear origin of calling cameras…well, cameras) throughout antiquity. More recently, however, its seen a small blip of resurgence amongst the artsy. I’m not gonna go deep into how it works, as Wikipedia does a good job of starting that, however the main ‘components’ of a pinhole camera are:
- A minute aperture
- Blacked out interior box interior.
- Film/sensor/translucent paper on which the image is projected.
The ‘features’ on the other hand are:
- super long apertures, due to the tiny aperture letting in very little light
- an extremely large depth of focus
- A characteristic softness and vignetting.
 Example of a photo with a pinhole camera
Notice the long exposure, and thus the dynamic blurring, overall softness, but that the objects in the foreground as in focus as the background.
First attempt
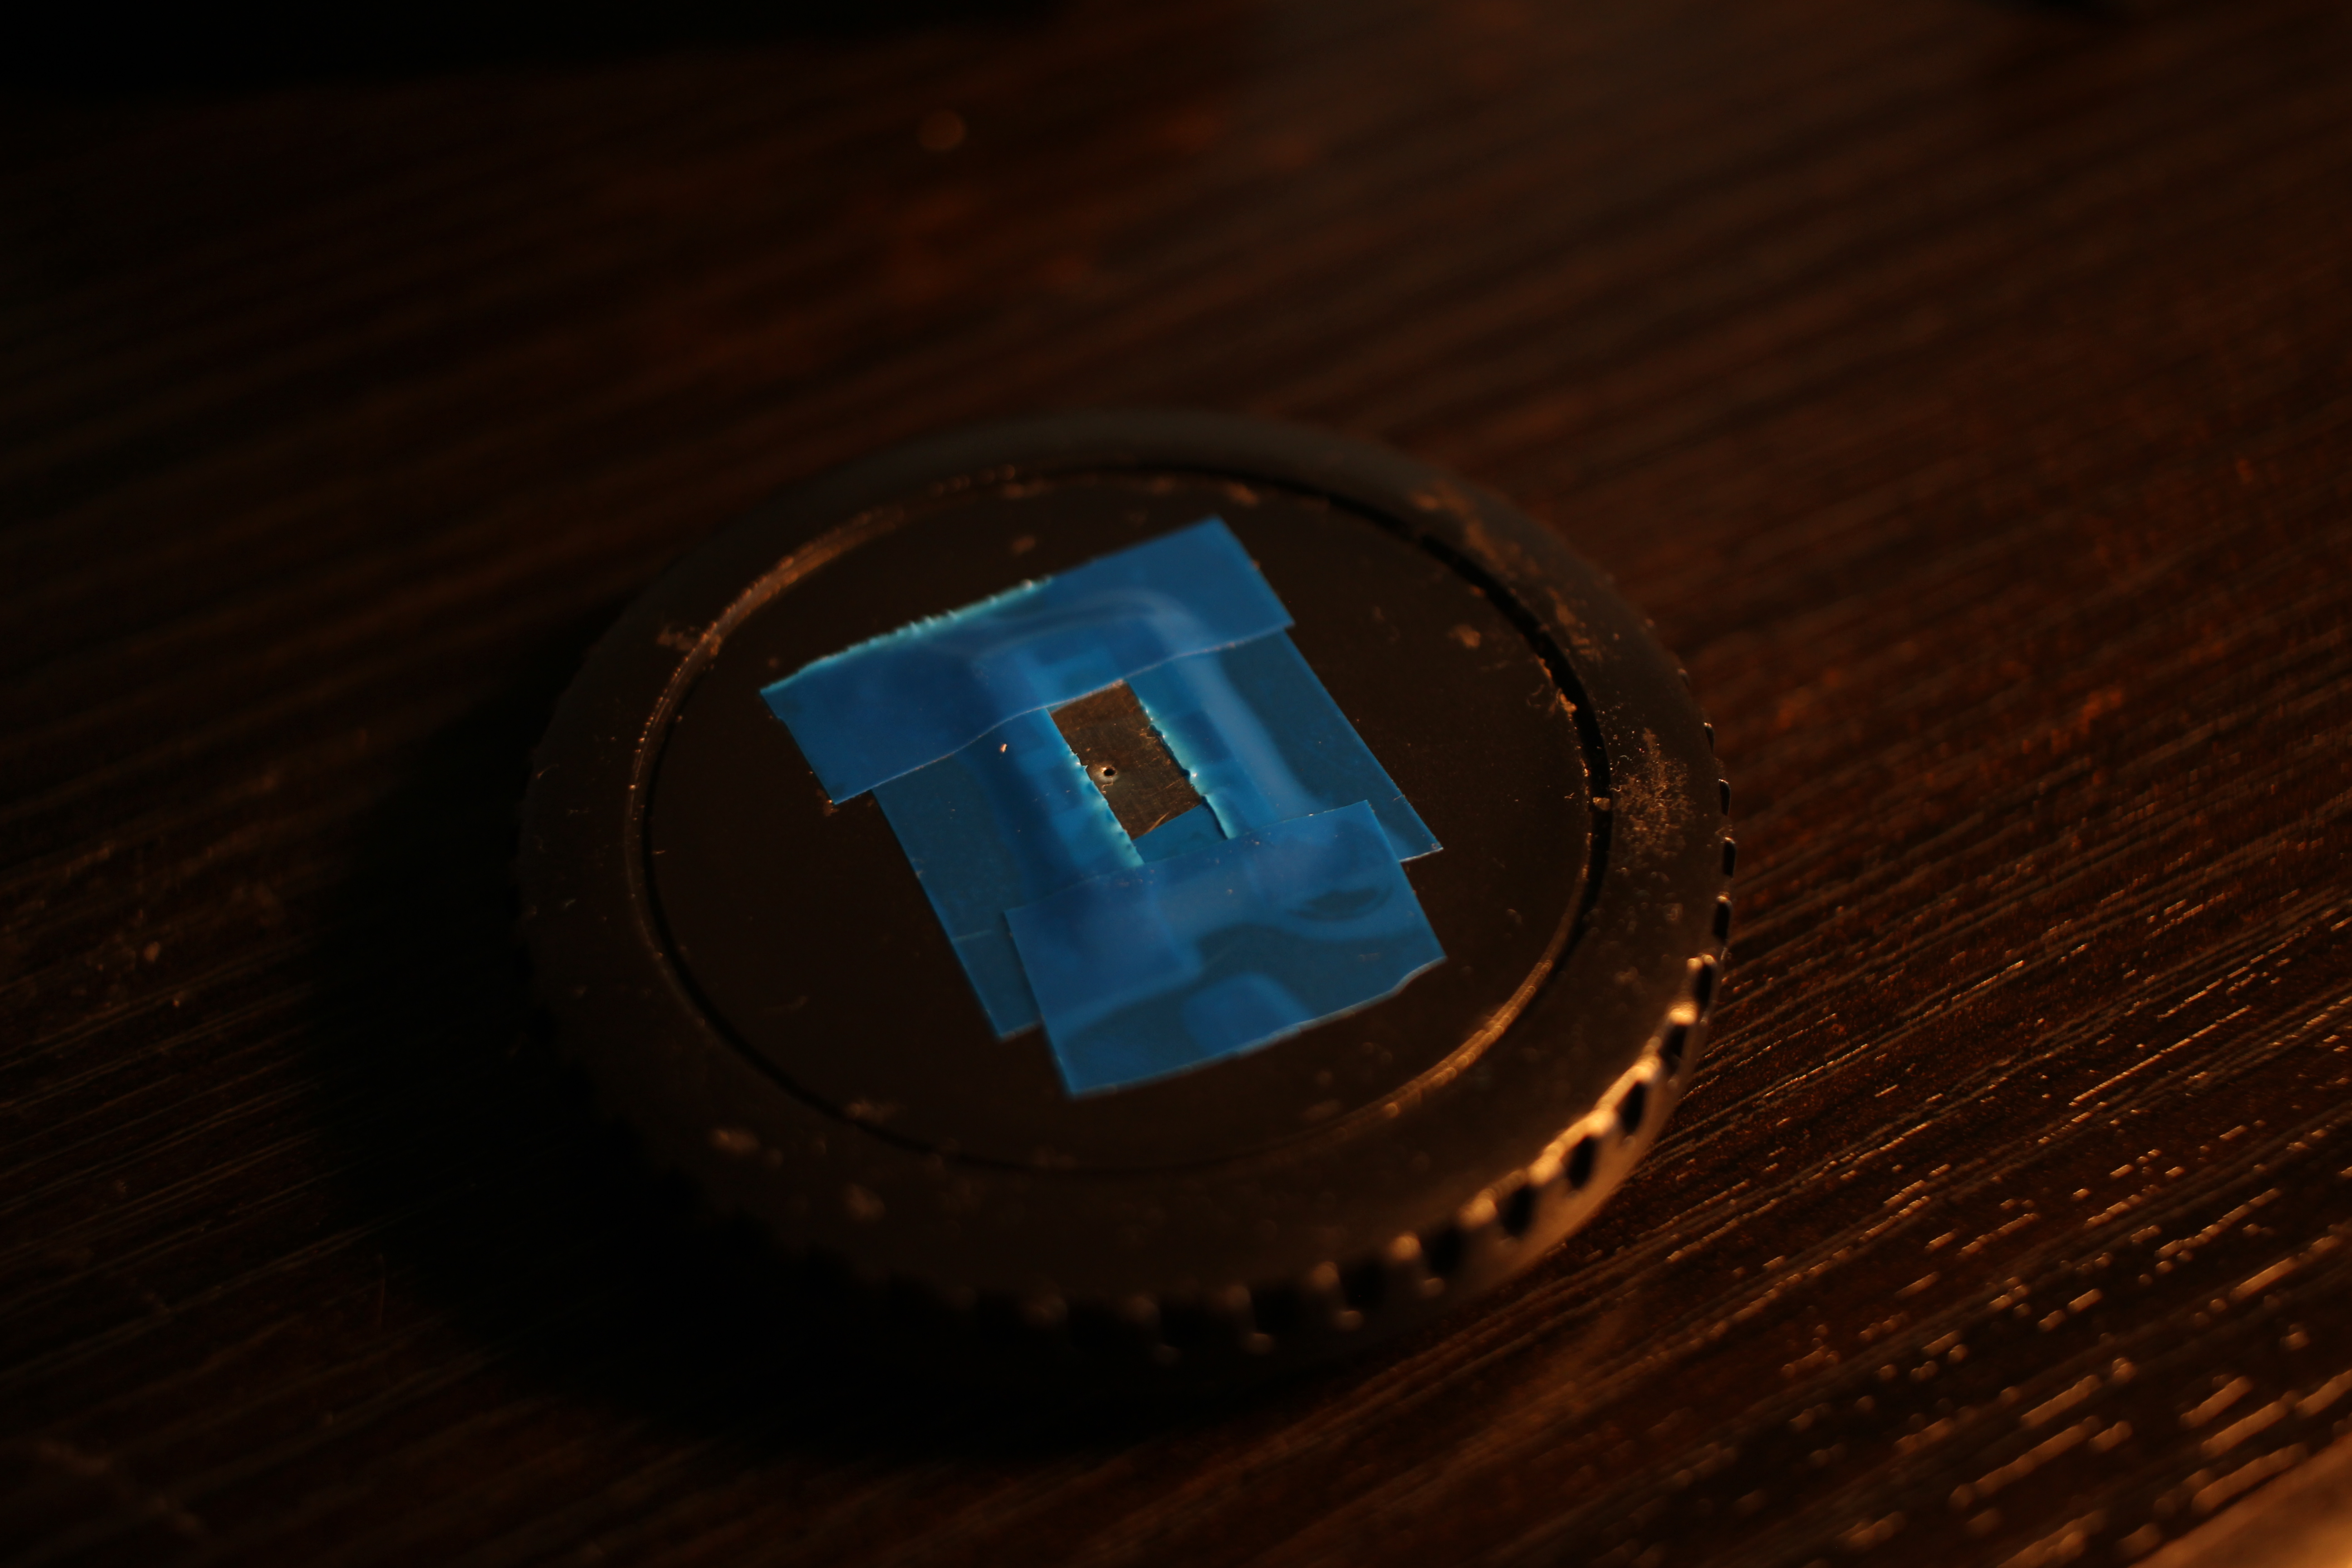
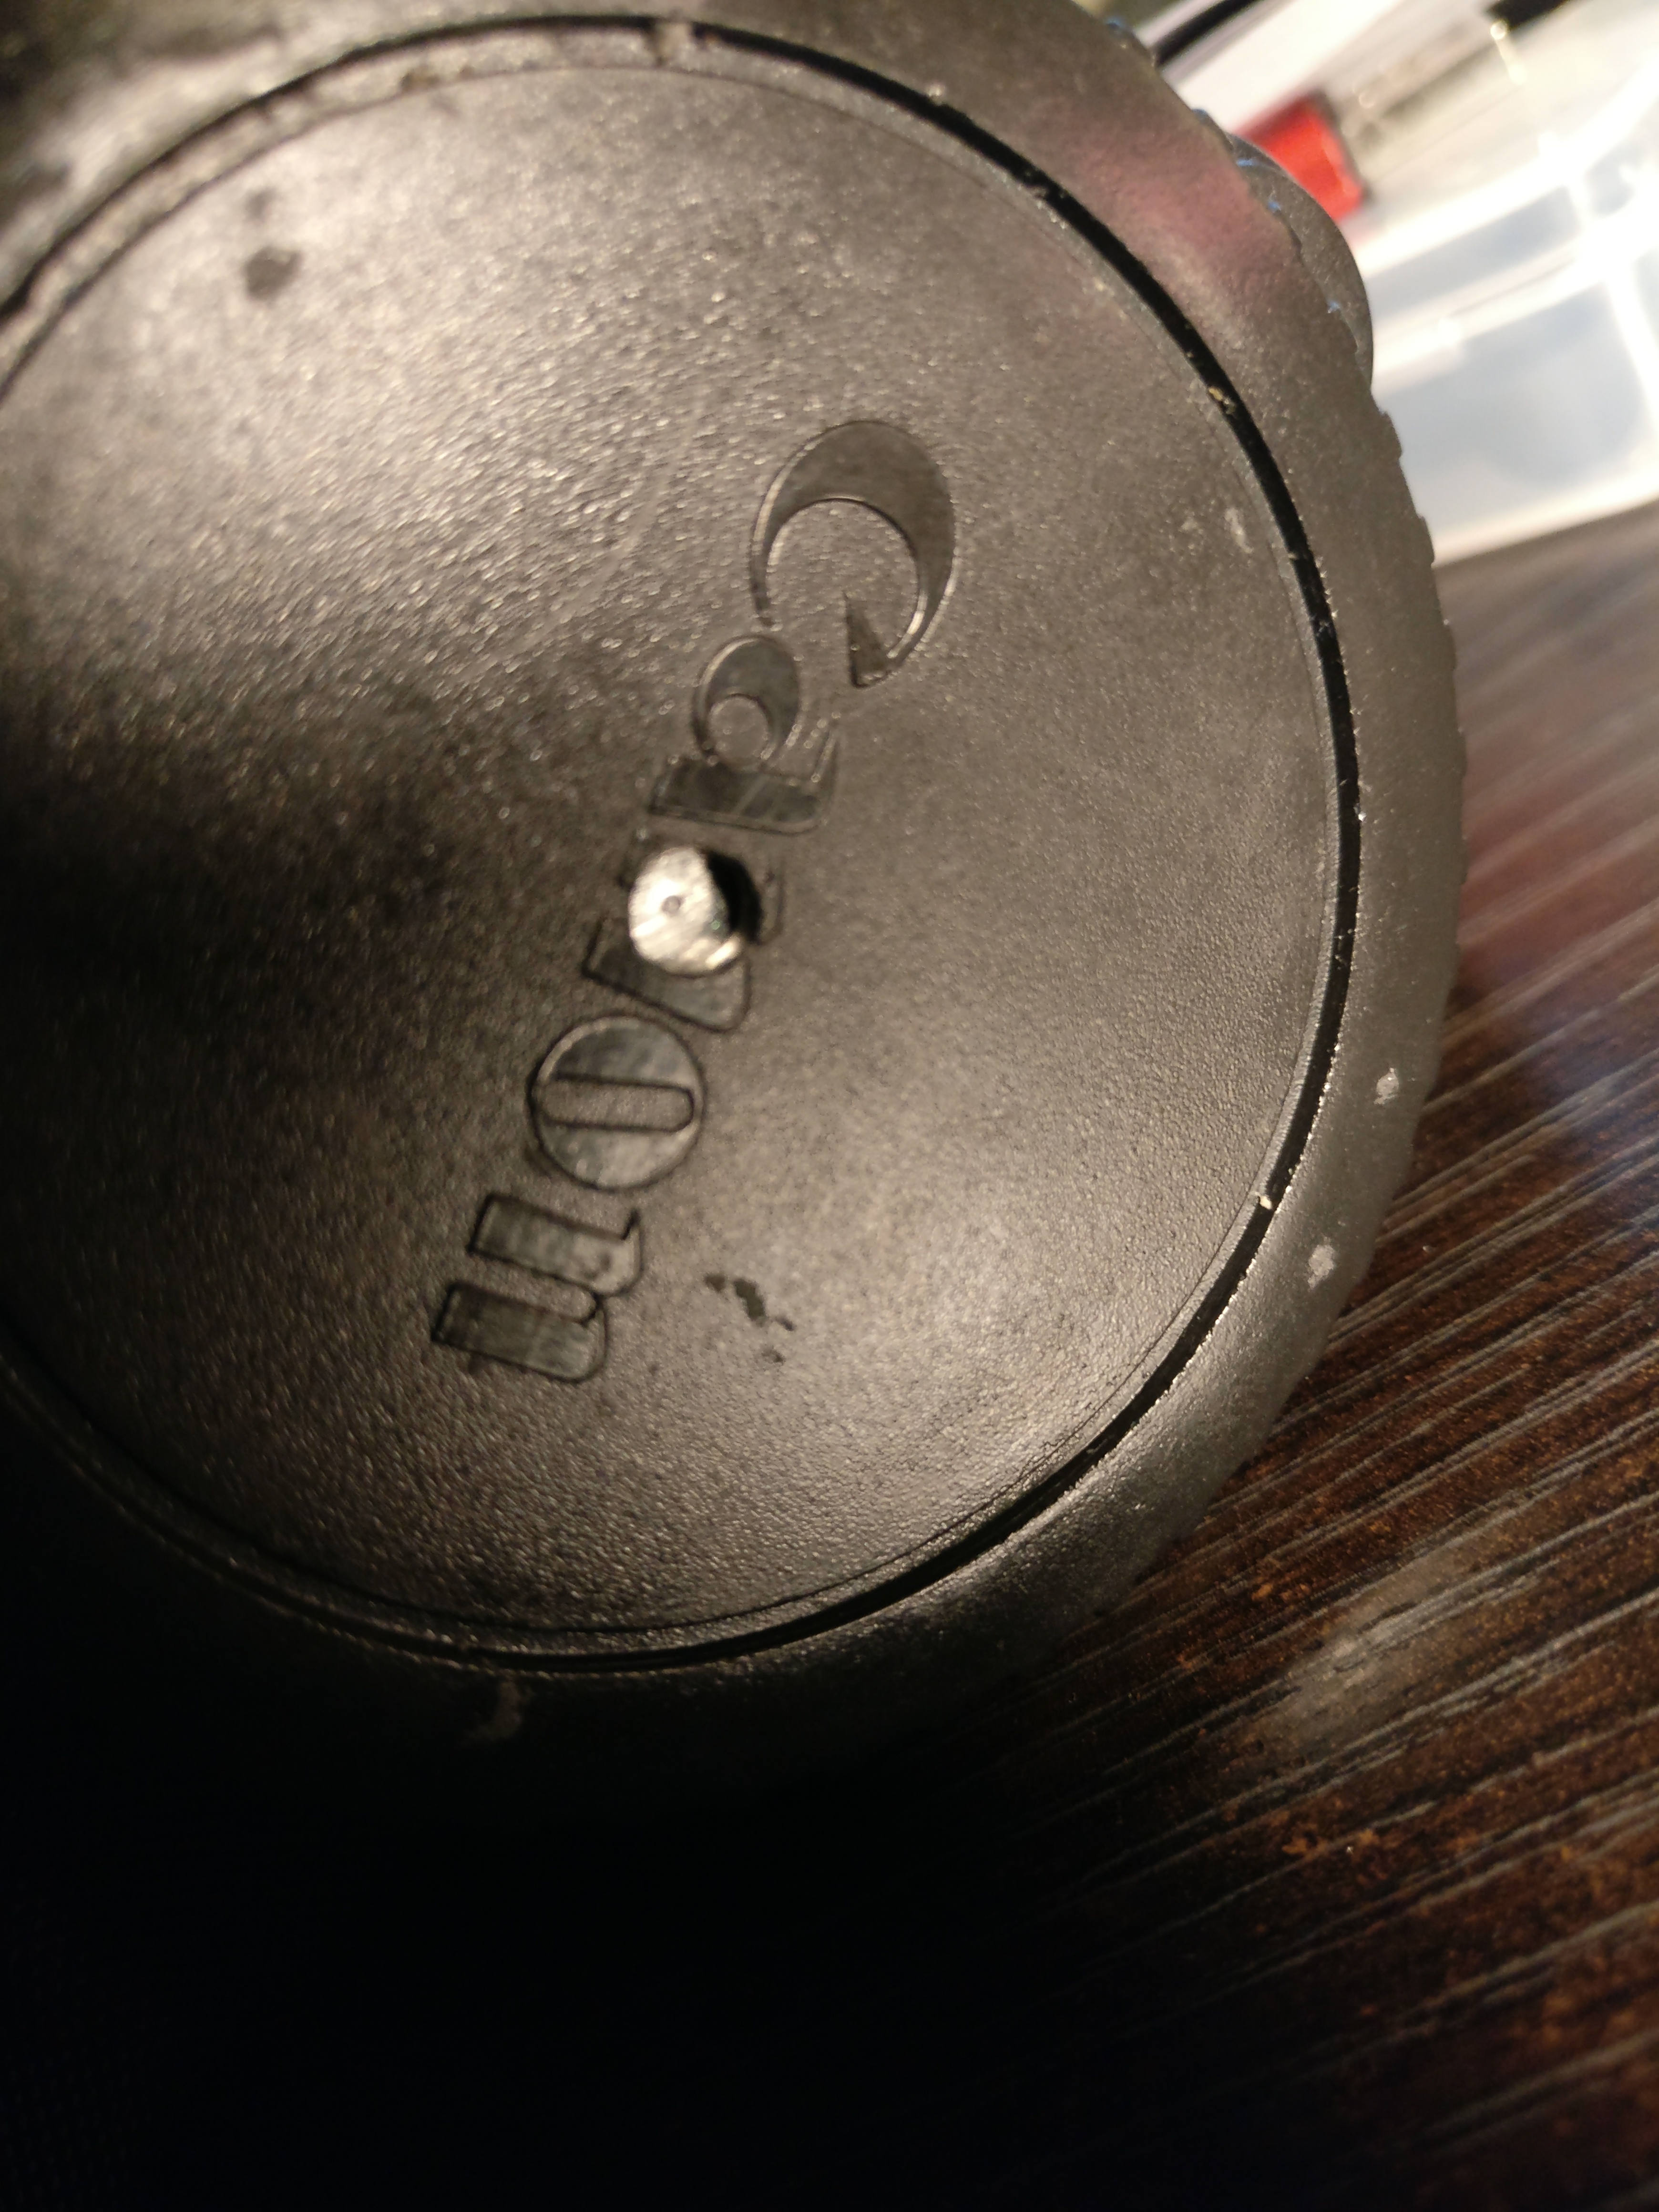
Following the article, I dented a piece of thin steel I had, sanded down until I had a tiny hole, and done! Stuck it to the outside of a spare body cap in which I had drilled a hole and started shooting.
 Ignore the griminess
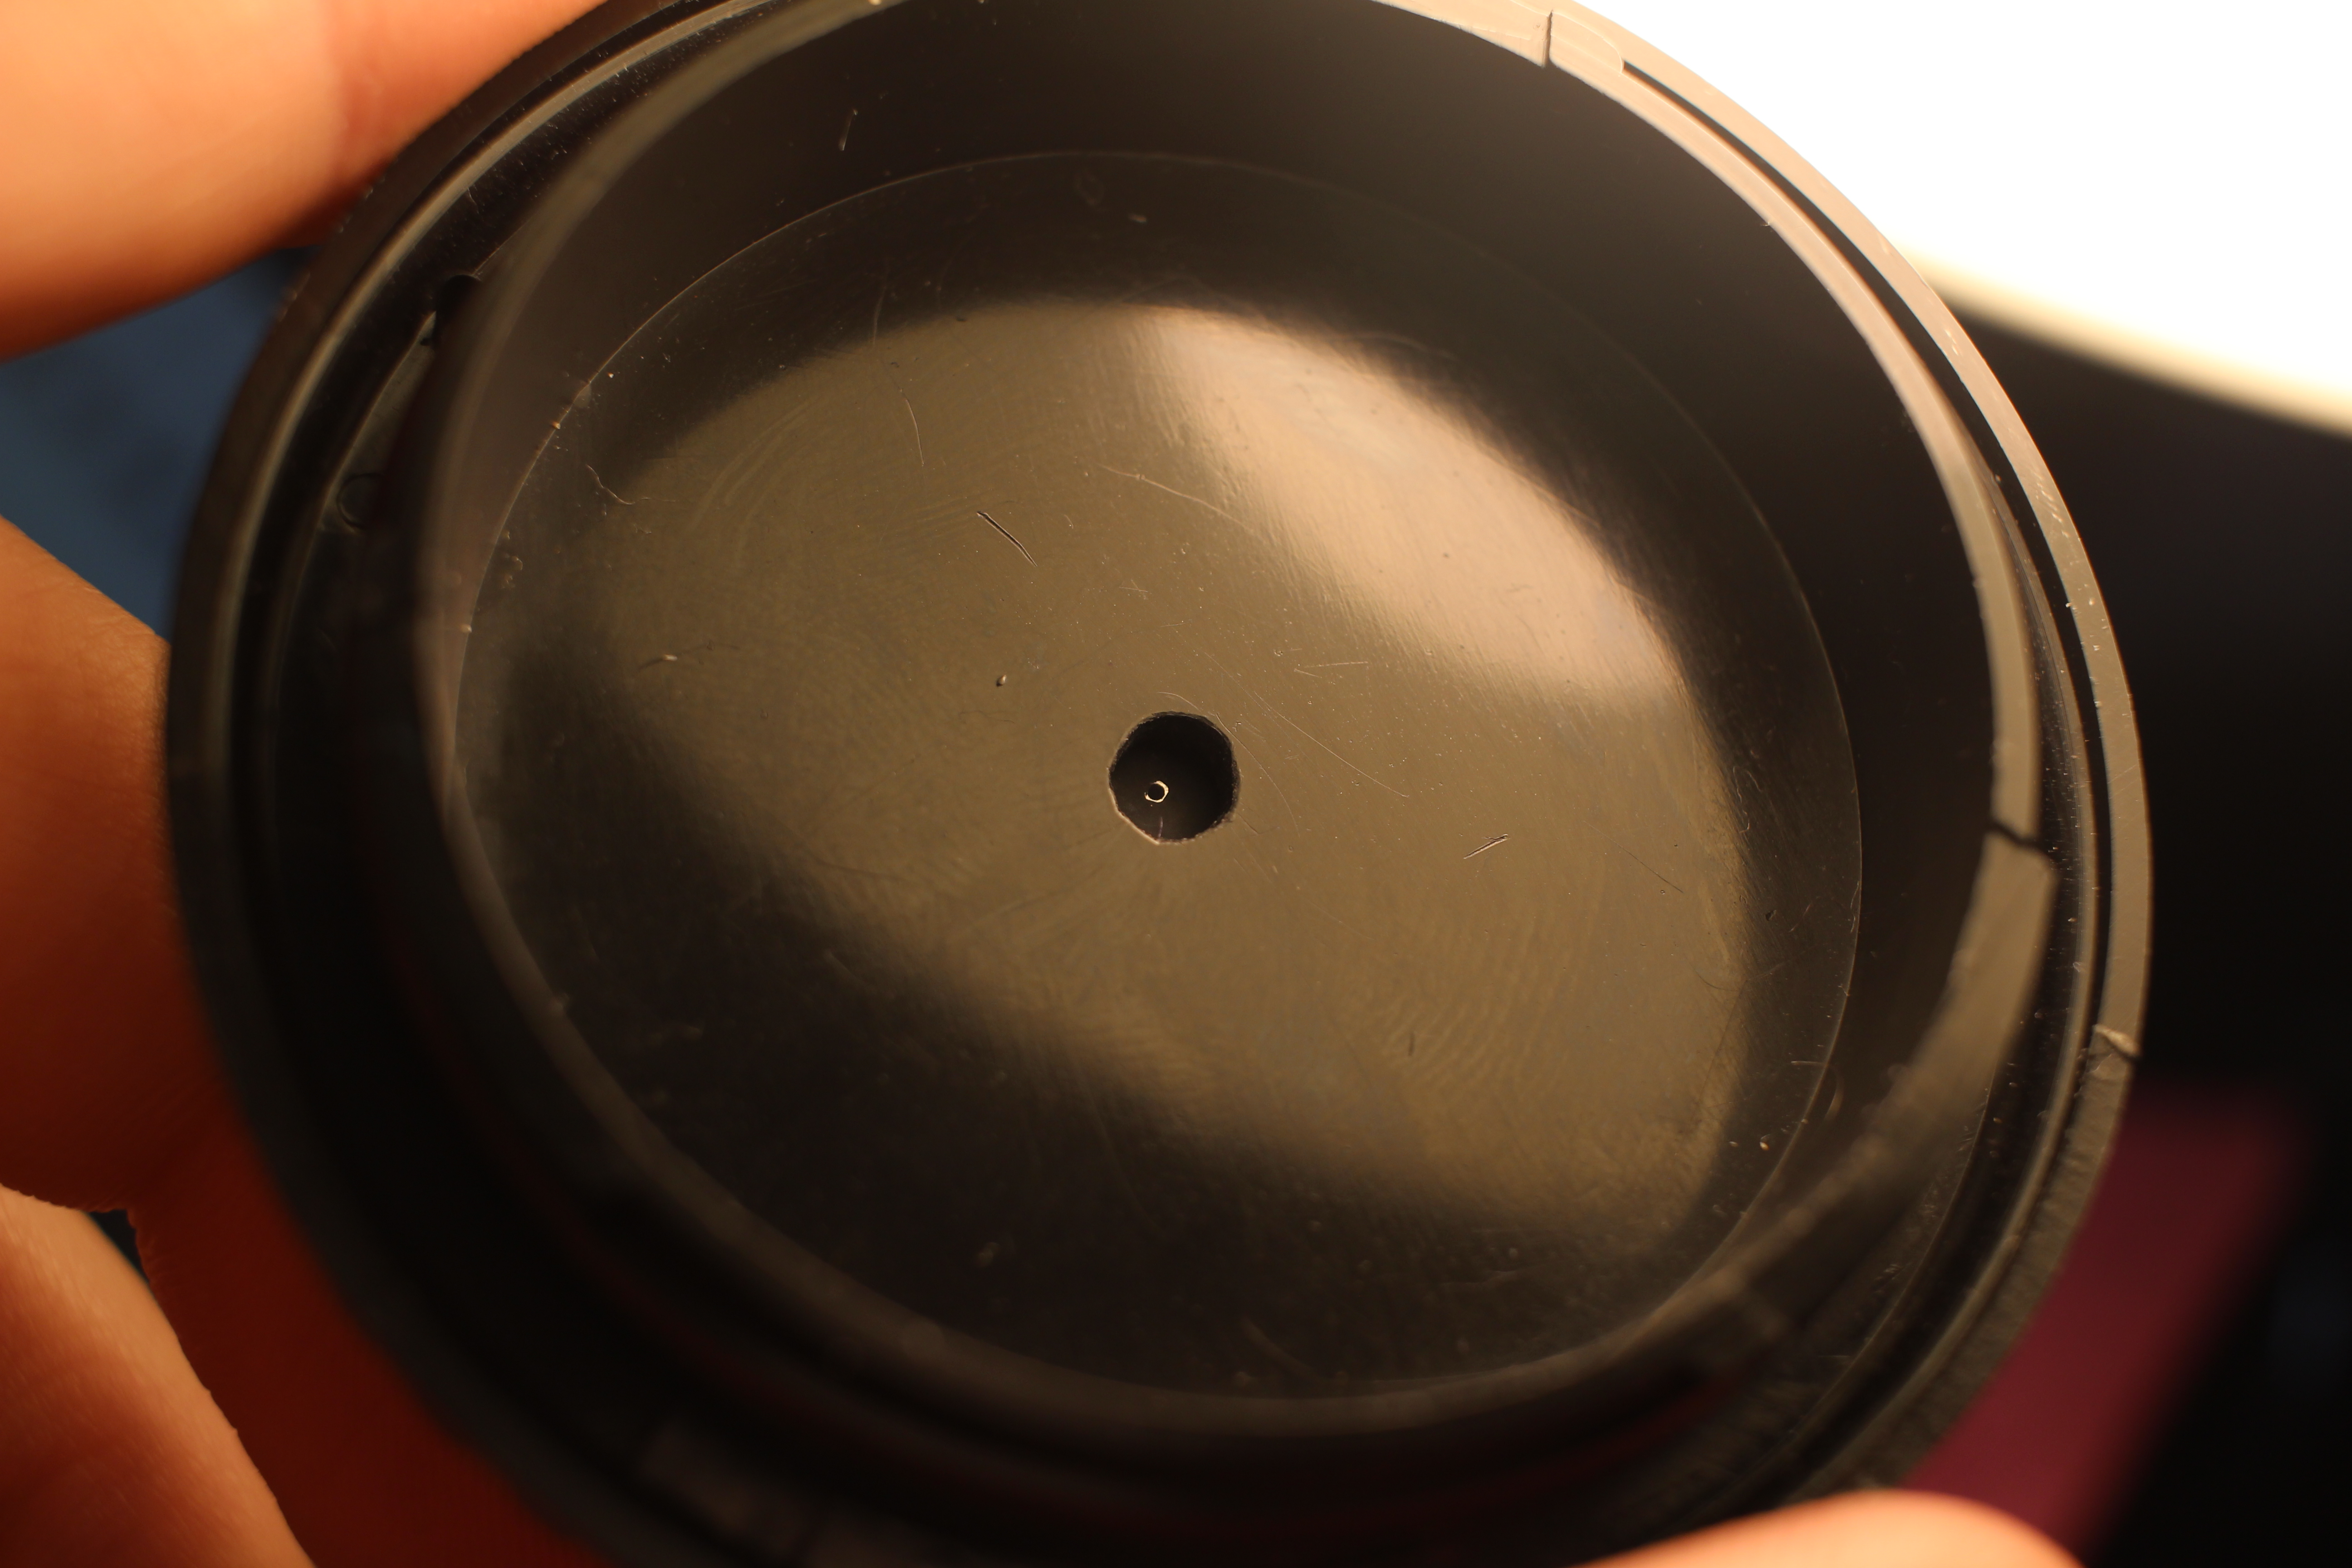 Inside of the lens cap
The first pictures were quite a lot more zoomed in than I expected and a hell of a lot blurrier, even after reading all about how blurry it was going to be. But even in the dark messiness I was pleased.
 Even 5 second exposures weren't enough
 Seriously long exposures at relatively high ISO
 Dialing in the exposure was a lot of trial and error
Second attempt
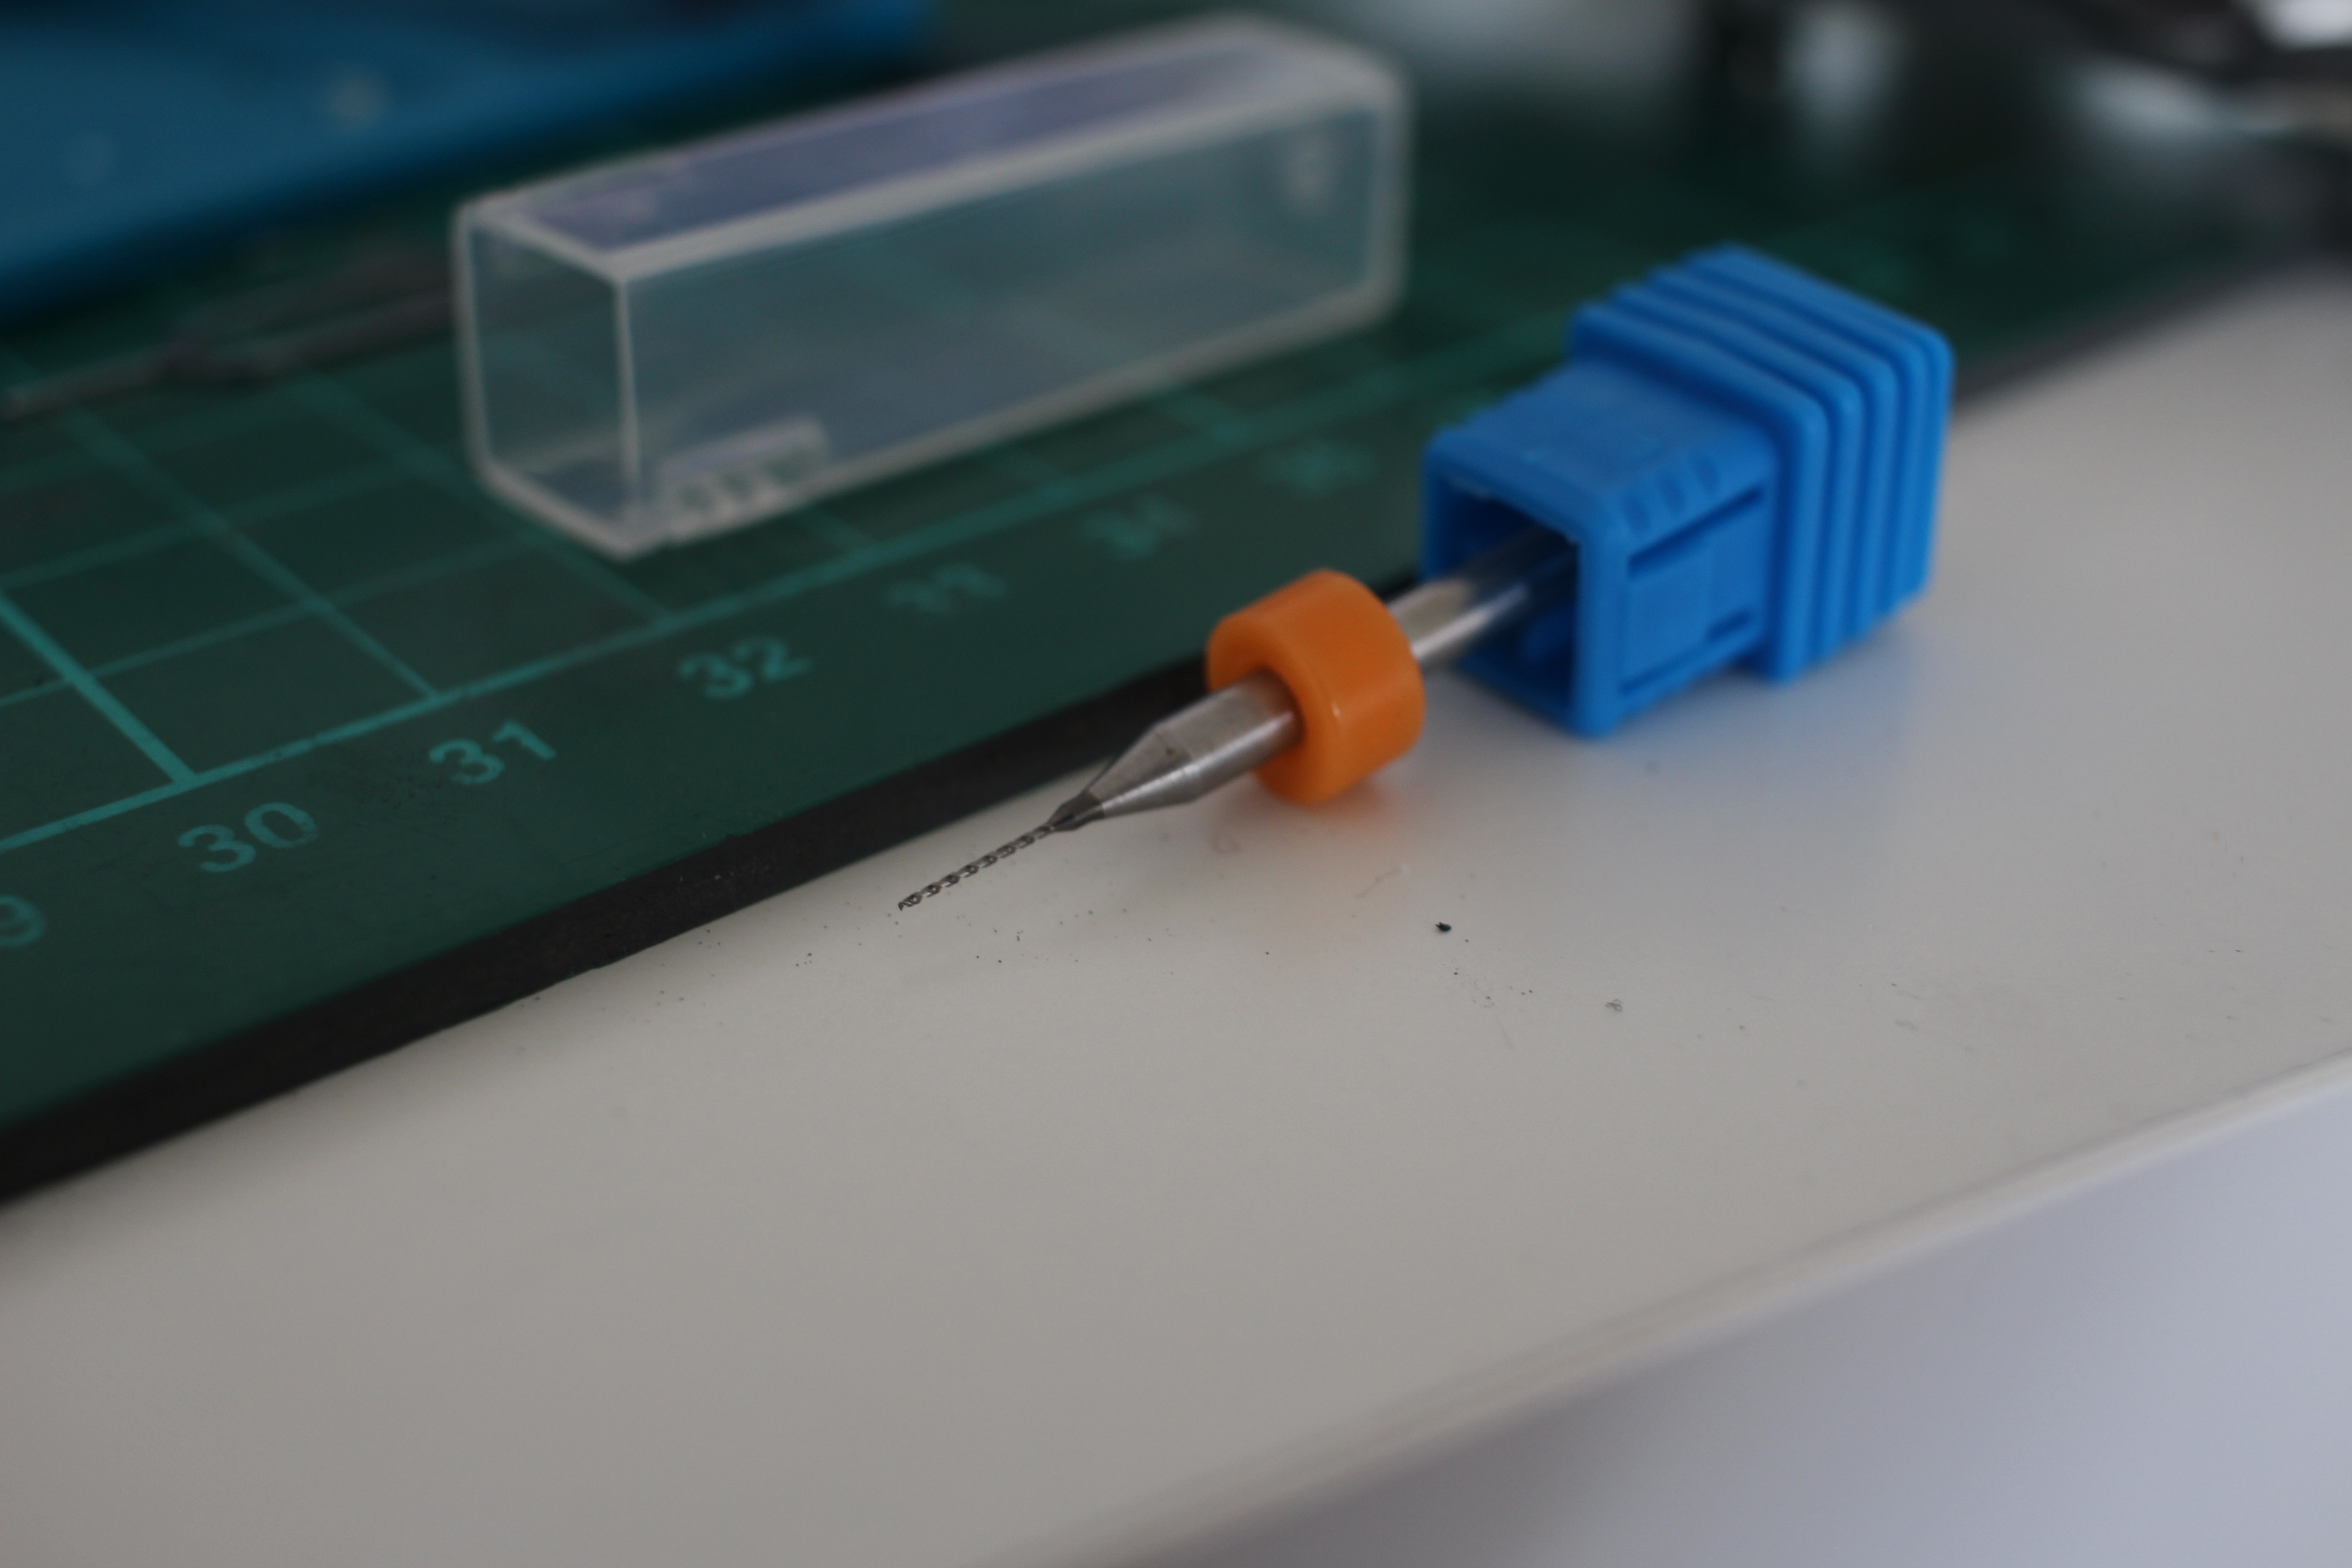
I figured that most of the blurriness was coming from the misshaped pinhole (since the smash and sand method didn’t seem the most precise) and the size of the pinhole itself. So I tried to make a smaller, yet rounder, hole. Luckily I found a 0.45mm drill bit and used that to finish another pinhole I made.
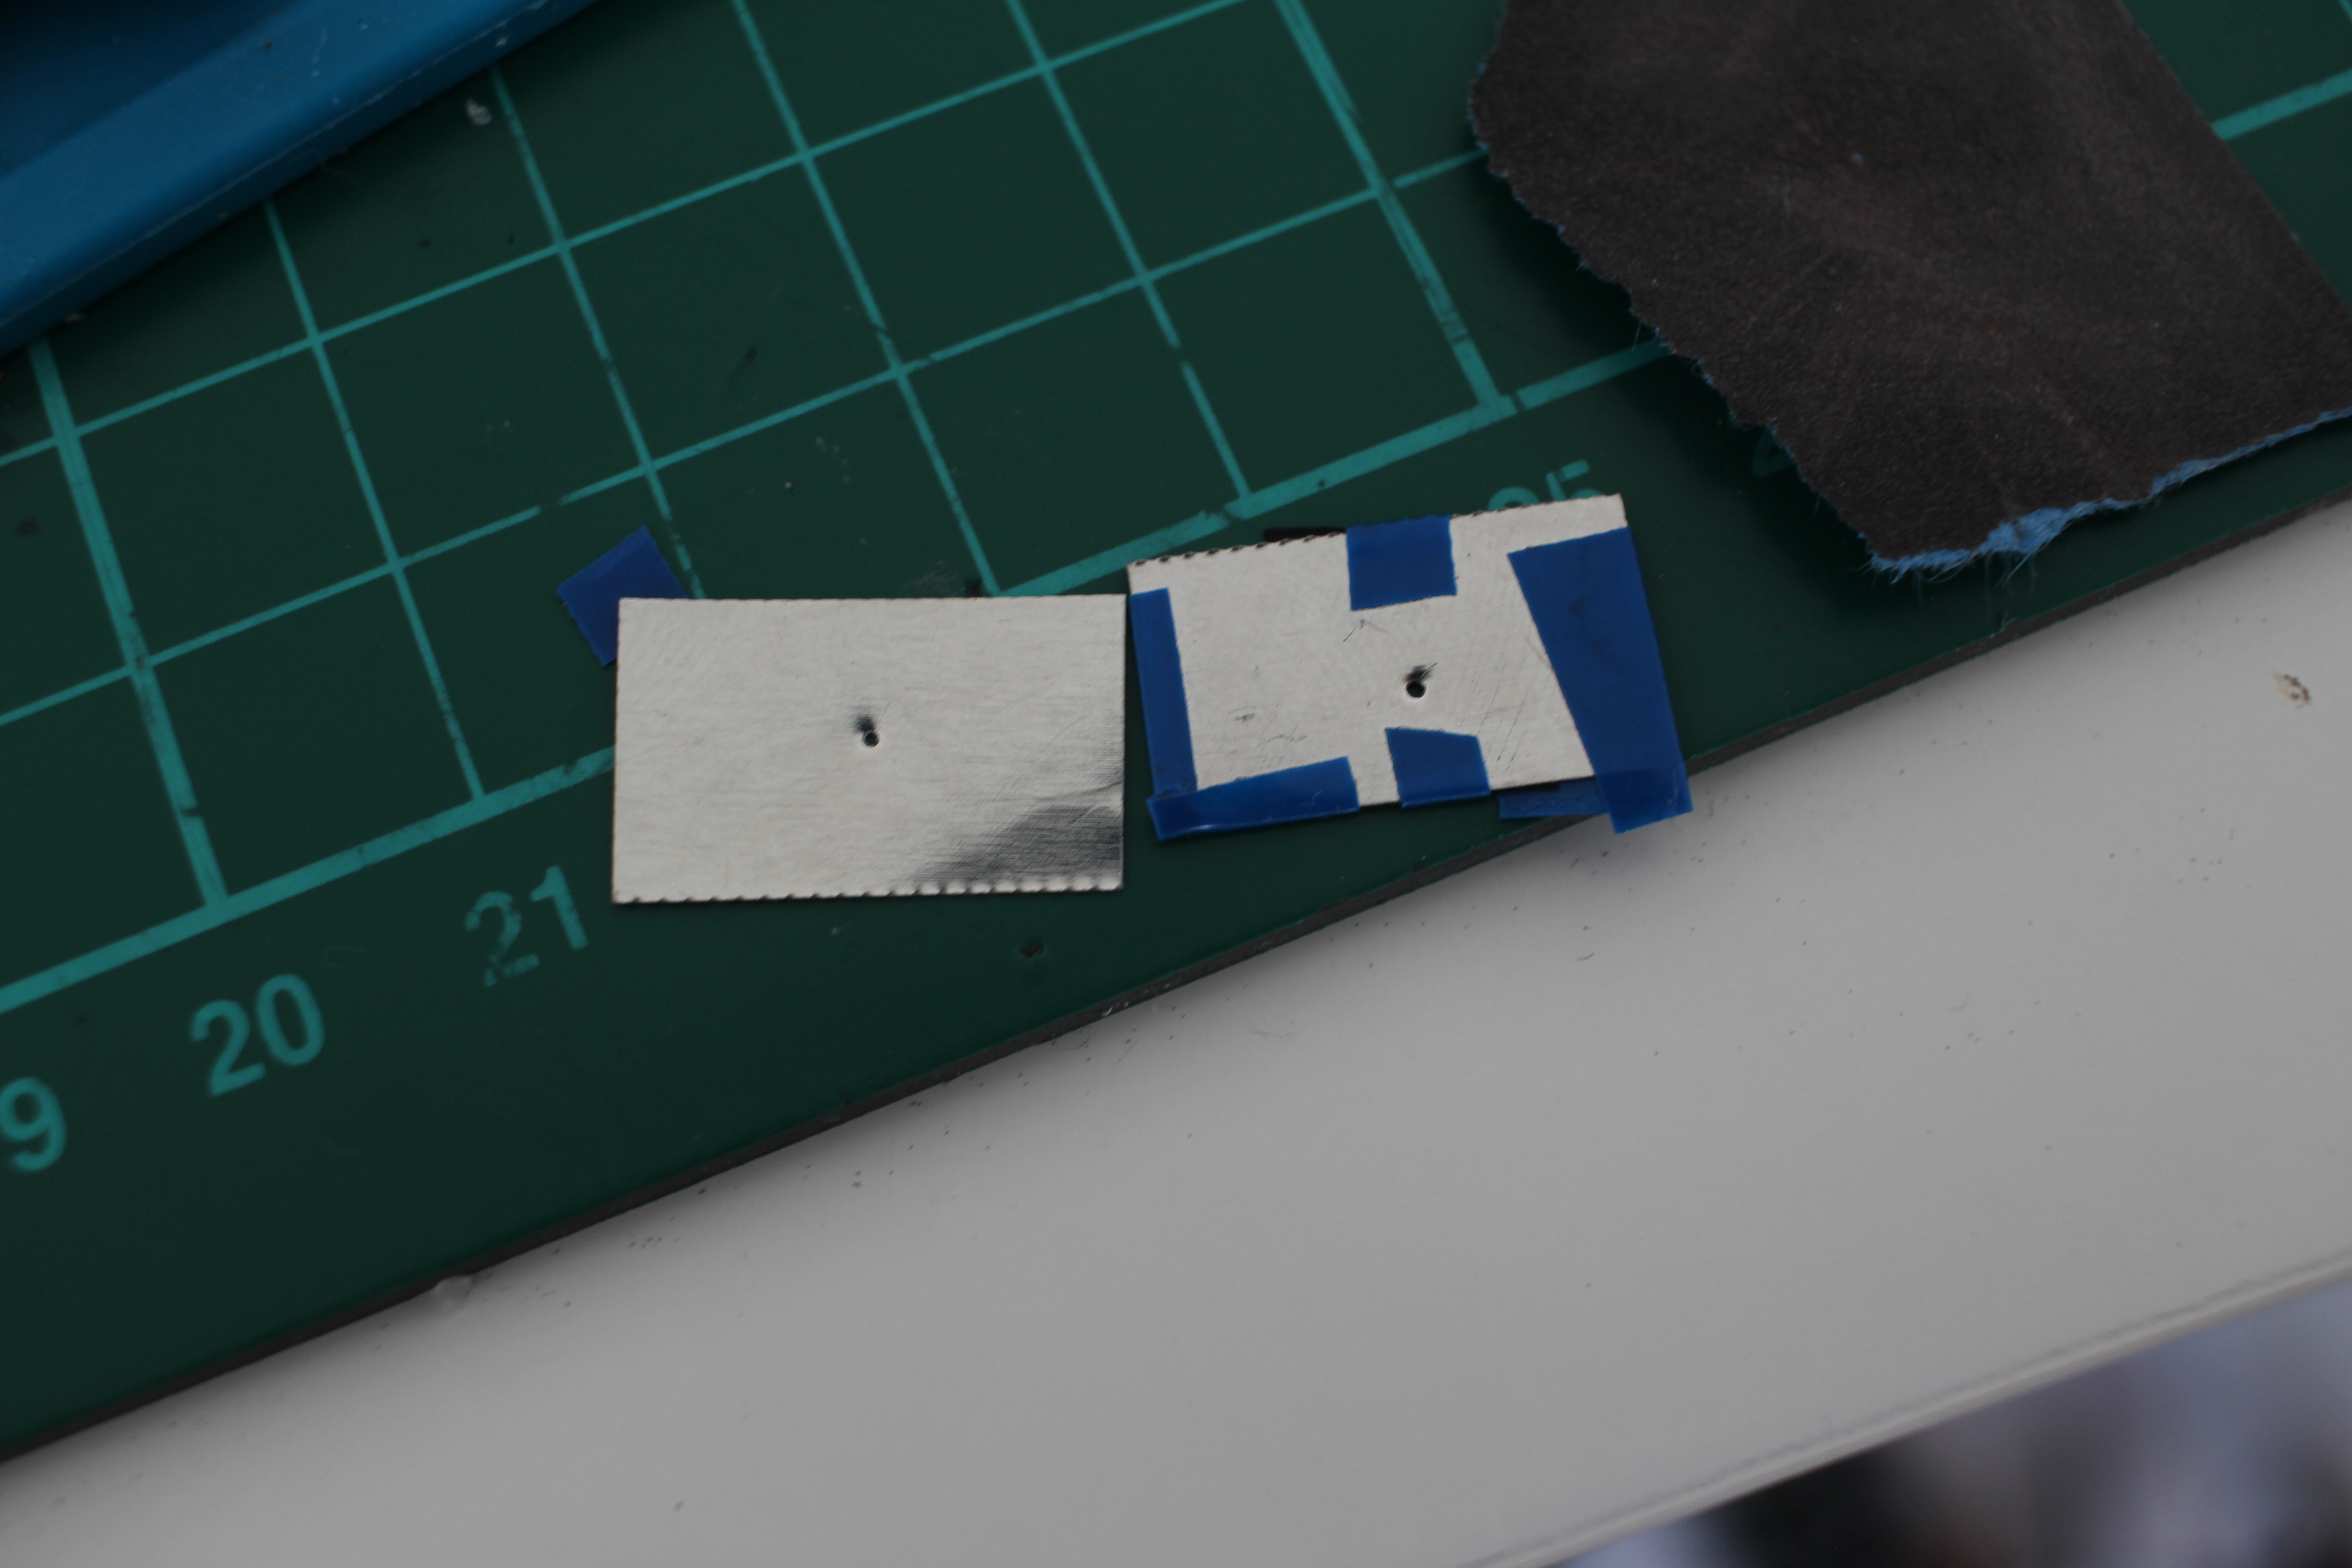 Second attempt to the left, ~0.5mm. The first is around ~0.7mm
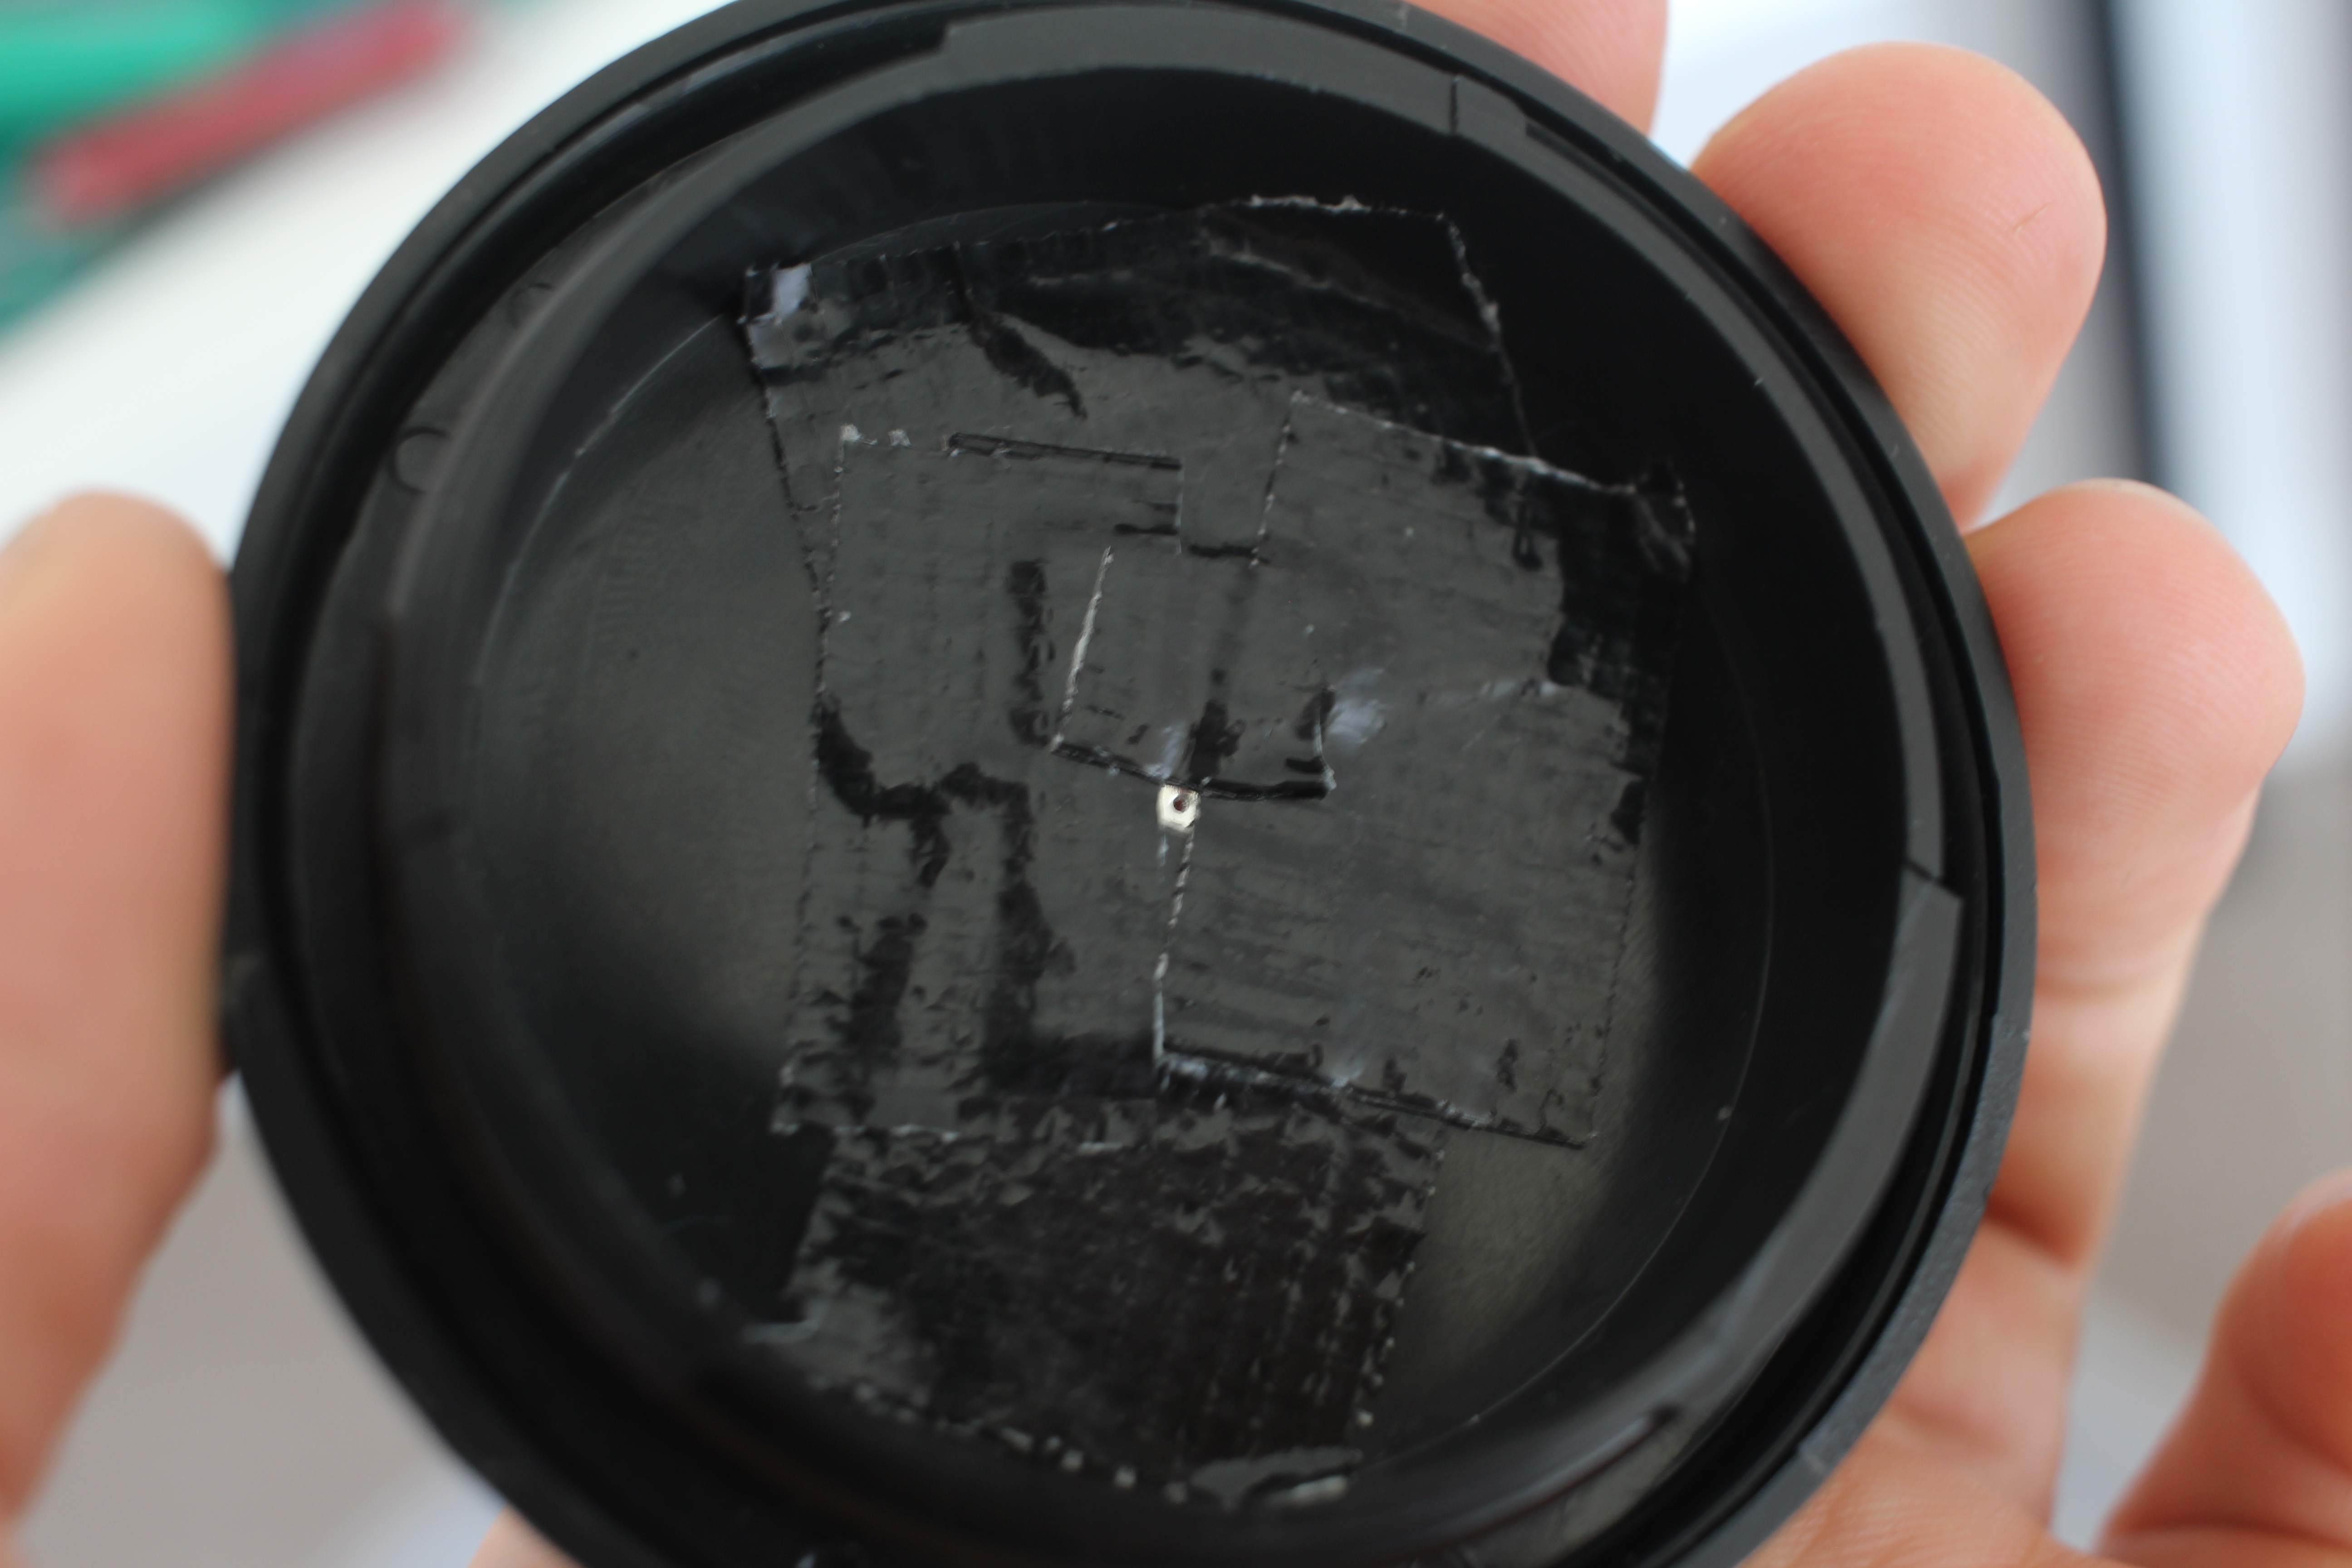 This time I attached it to the inside of the cap
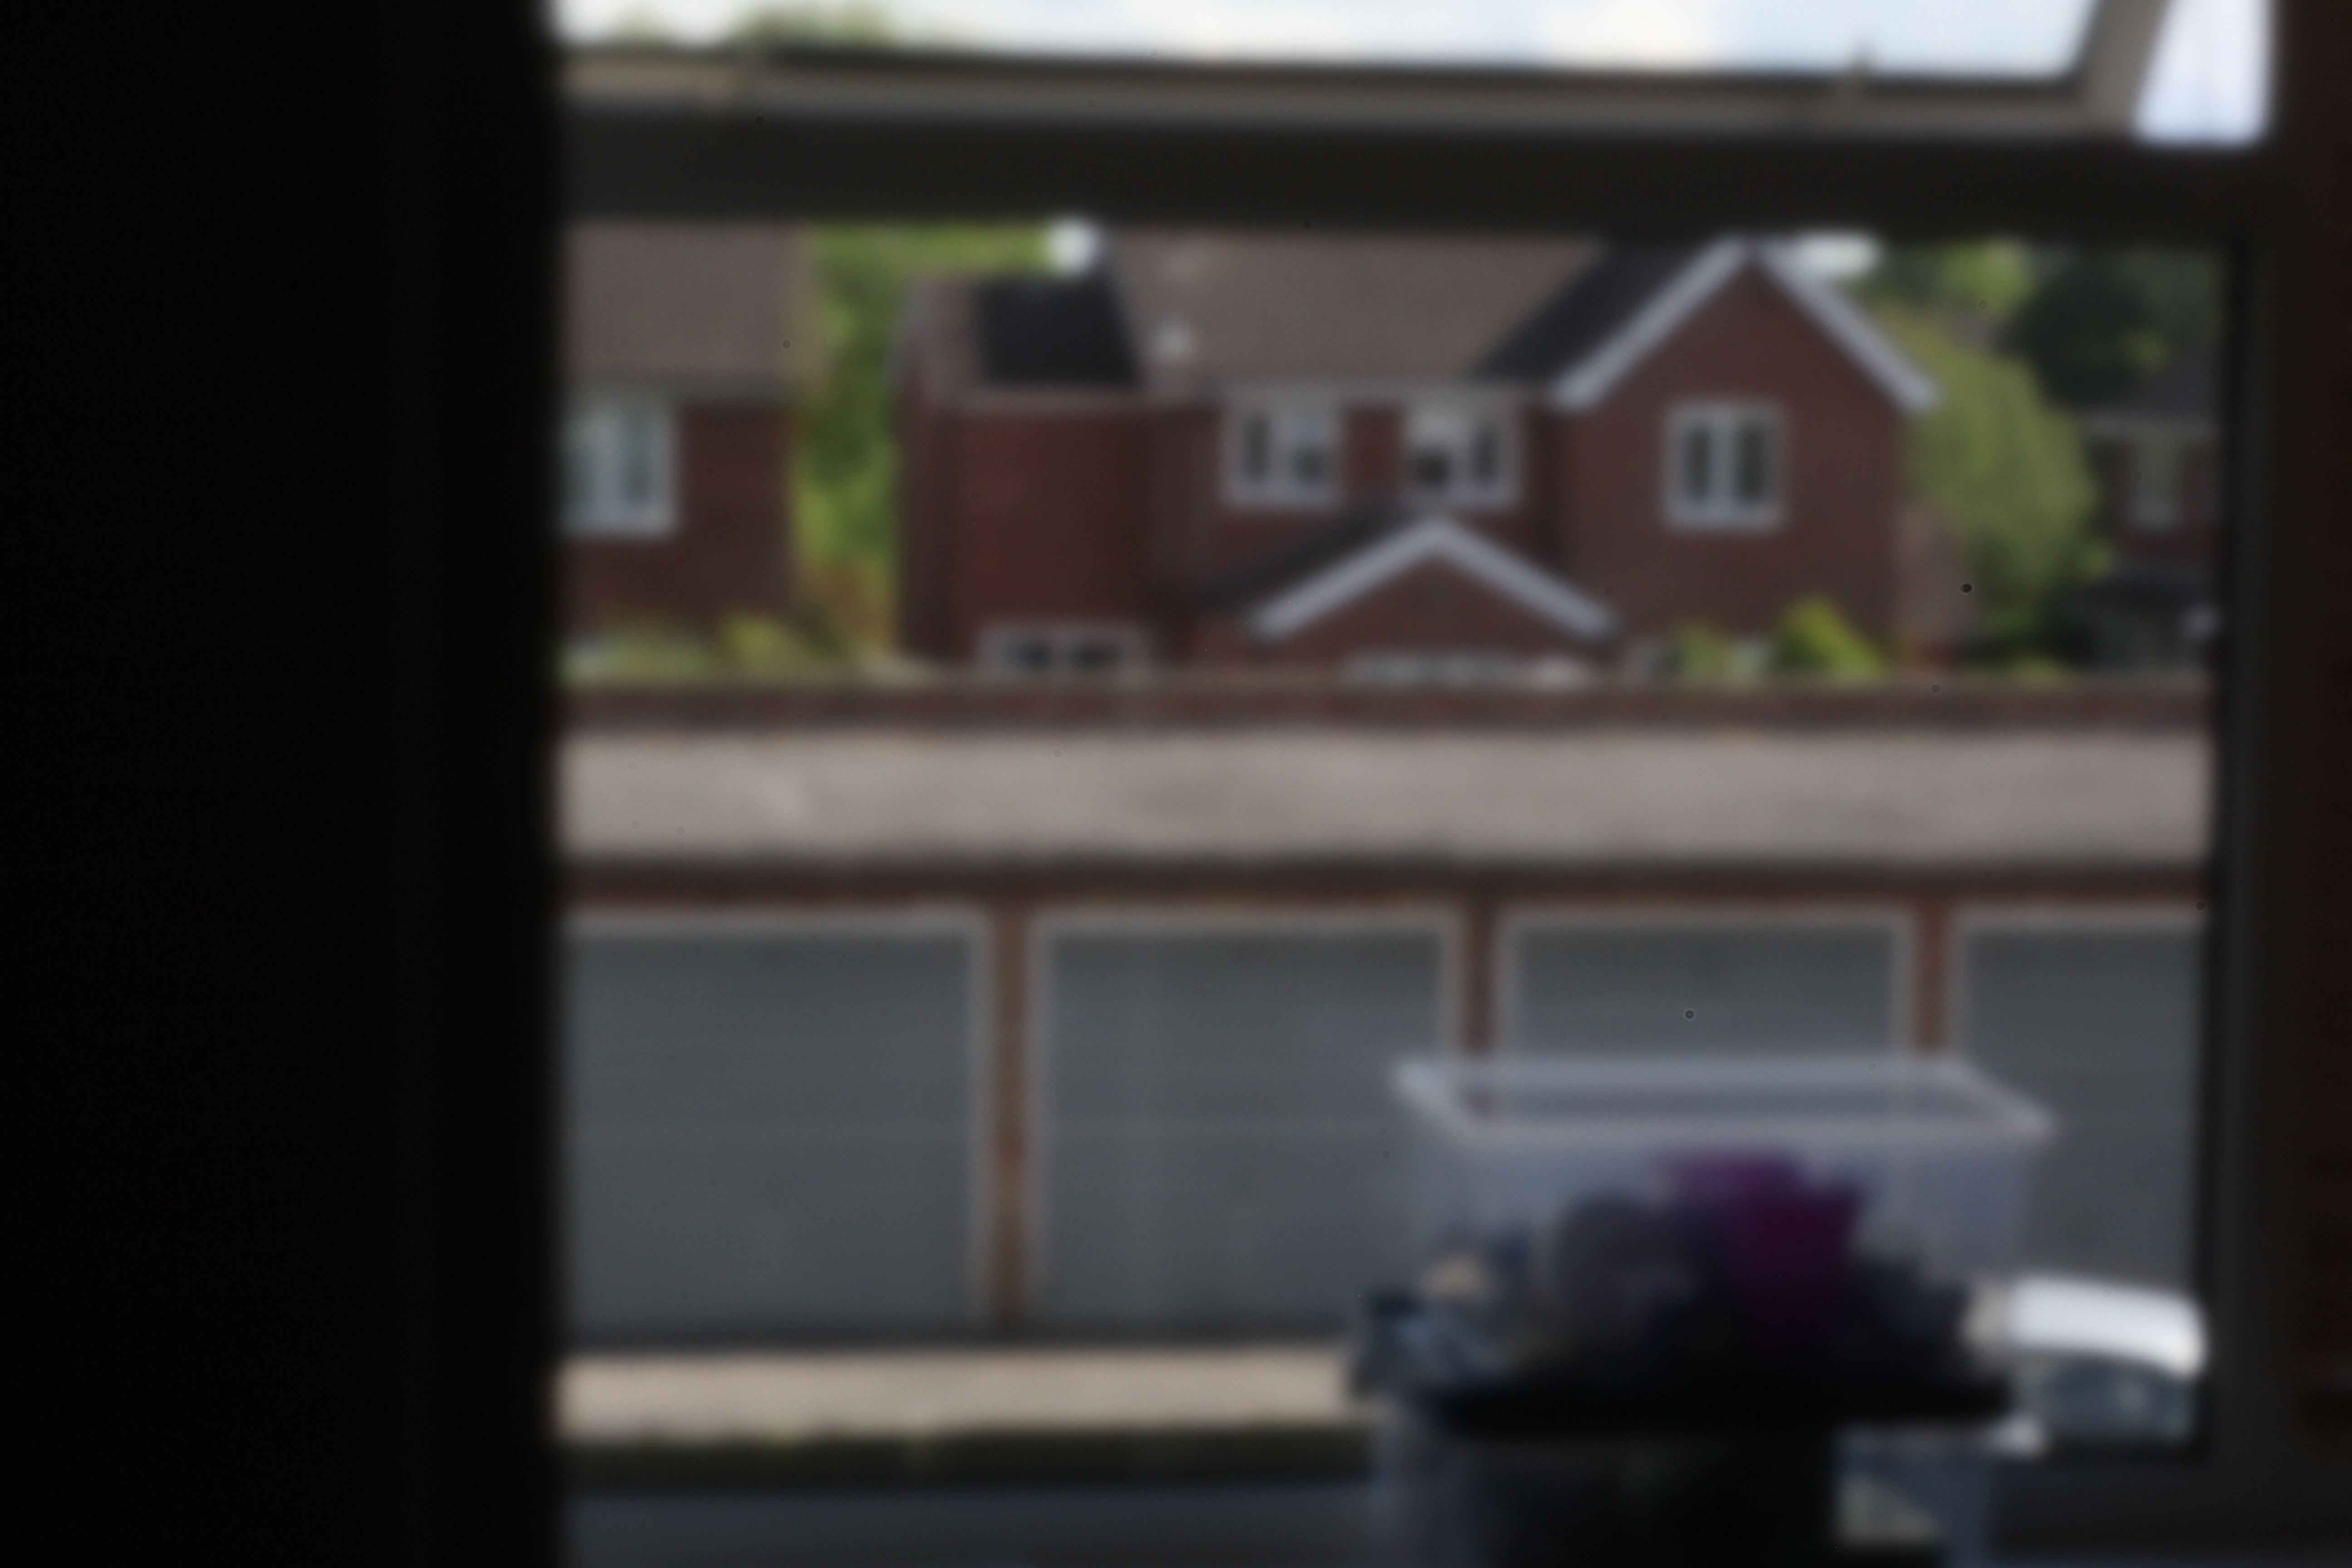 Still pretty blurry
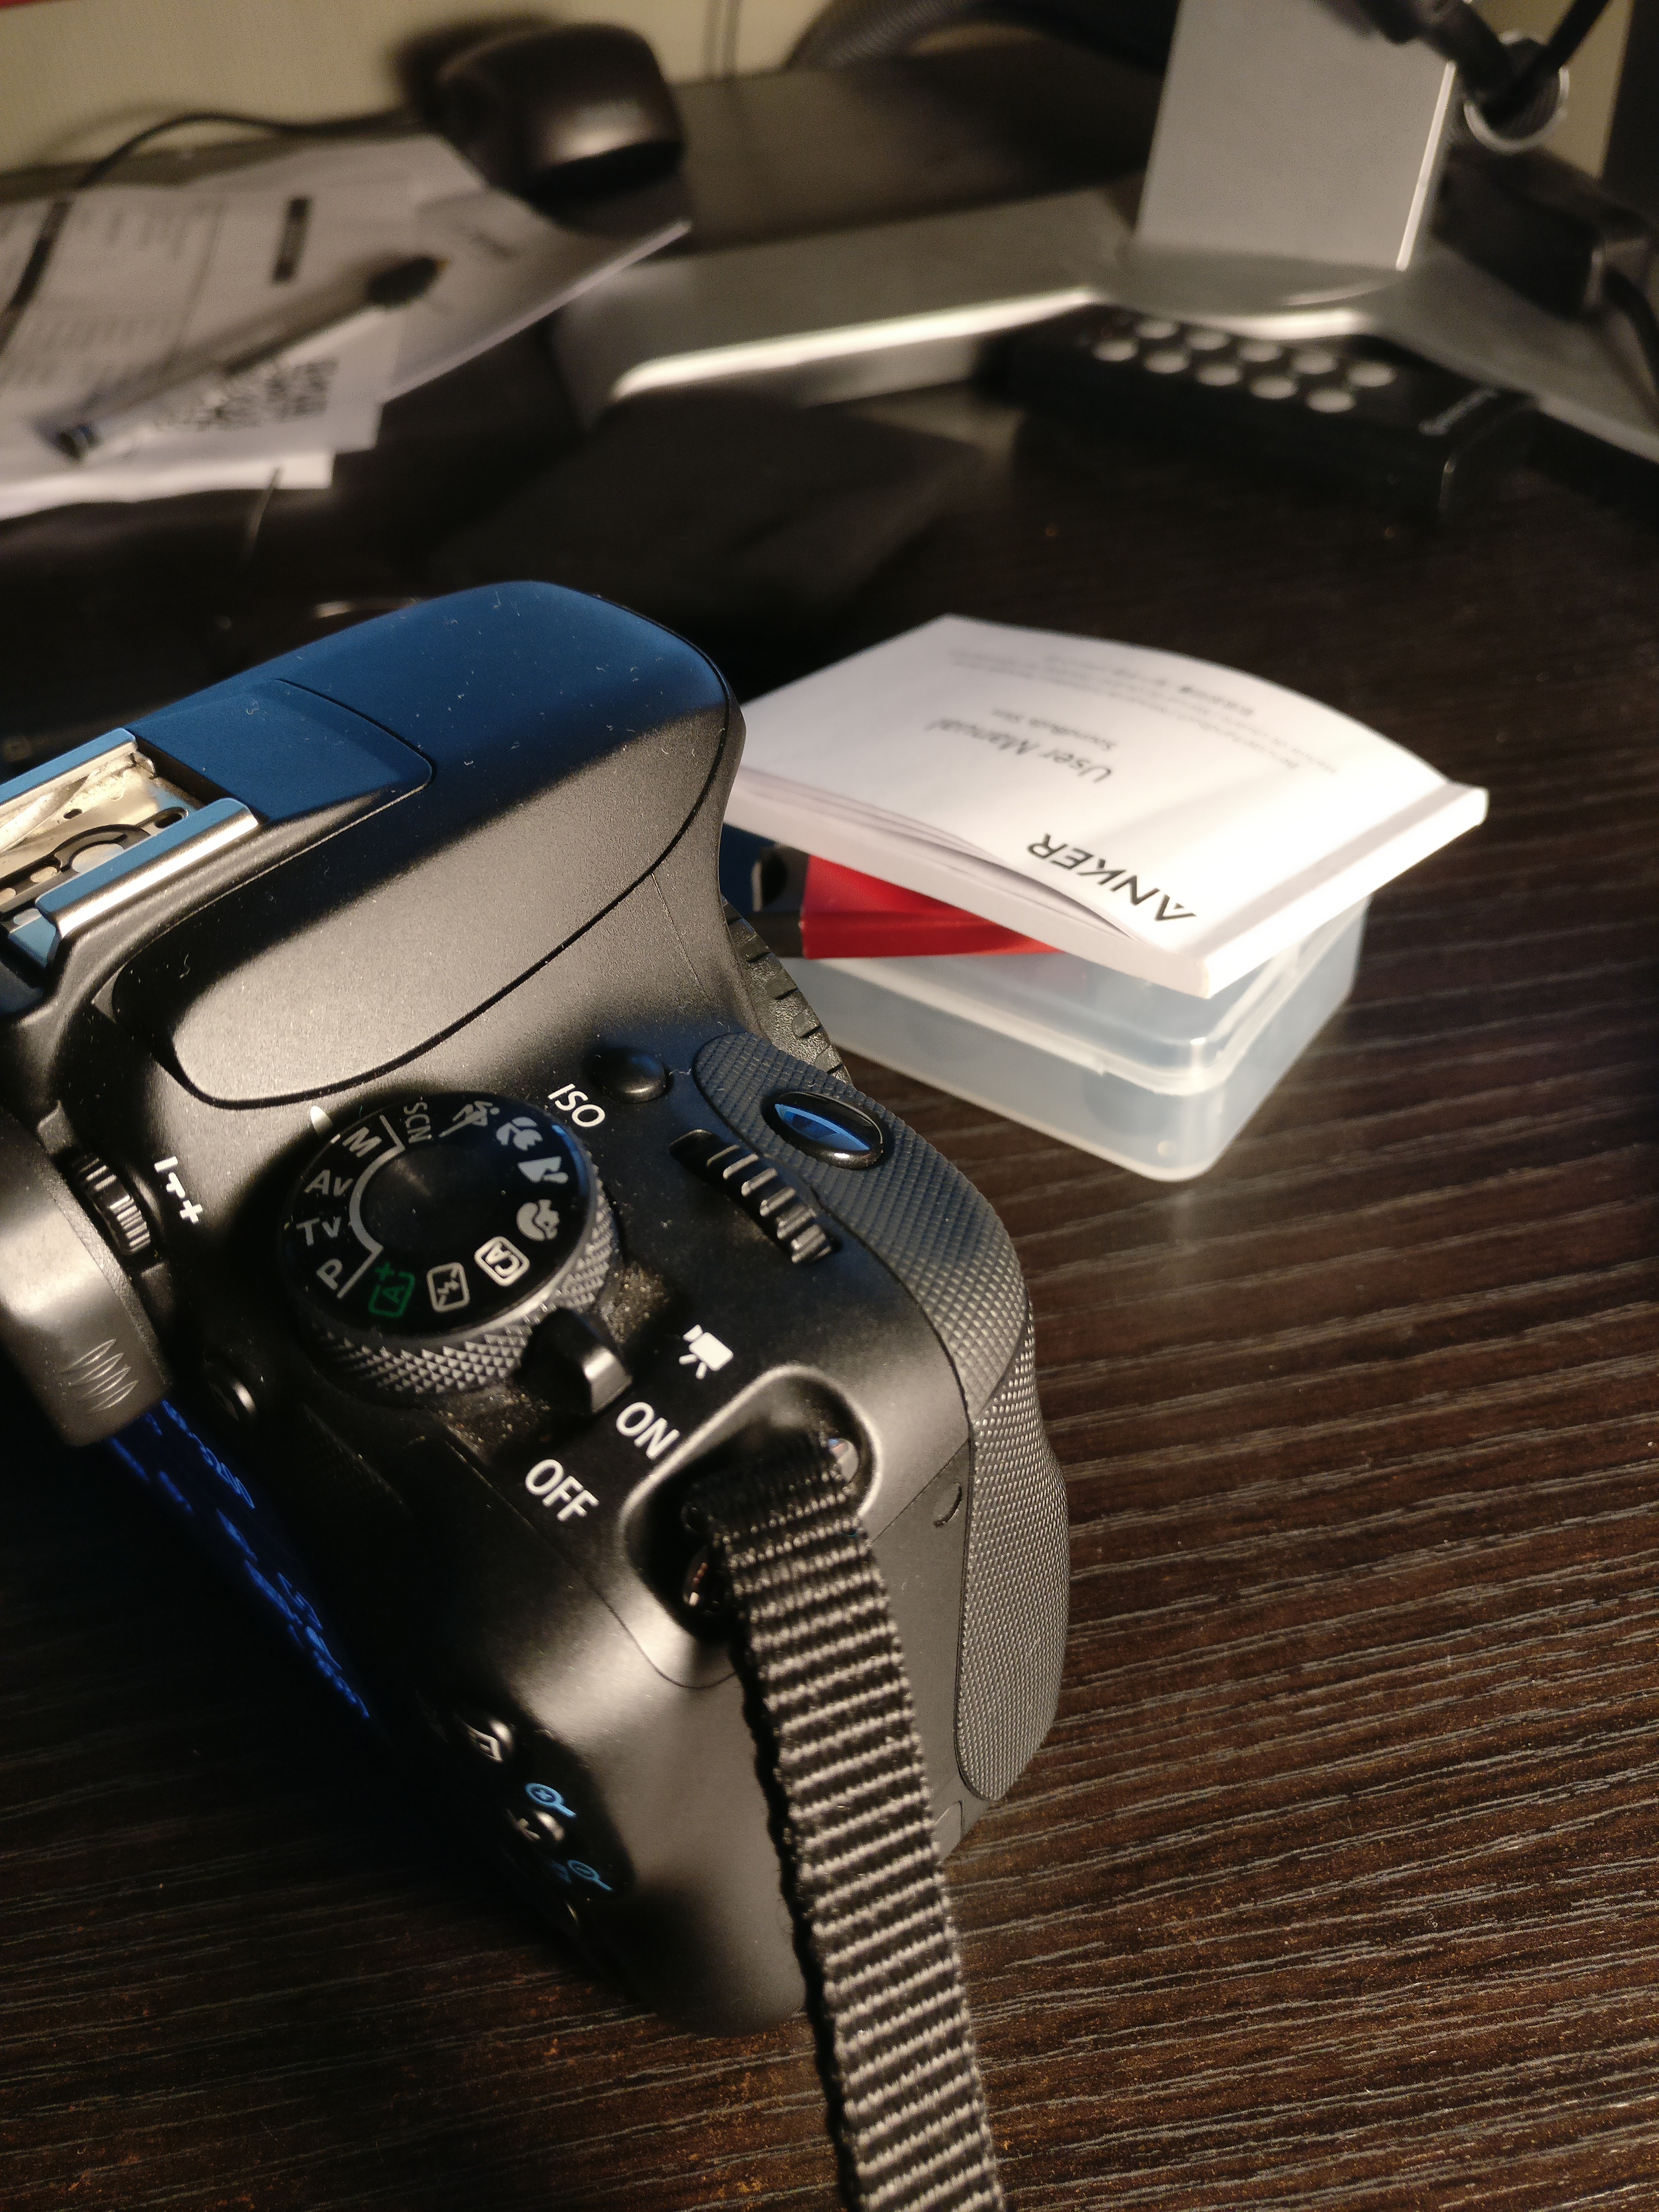
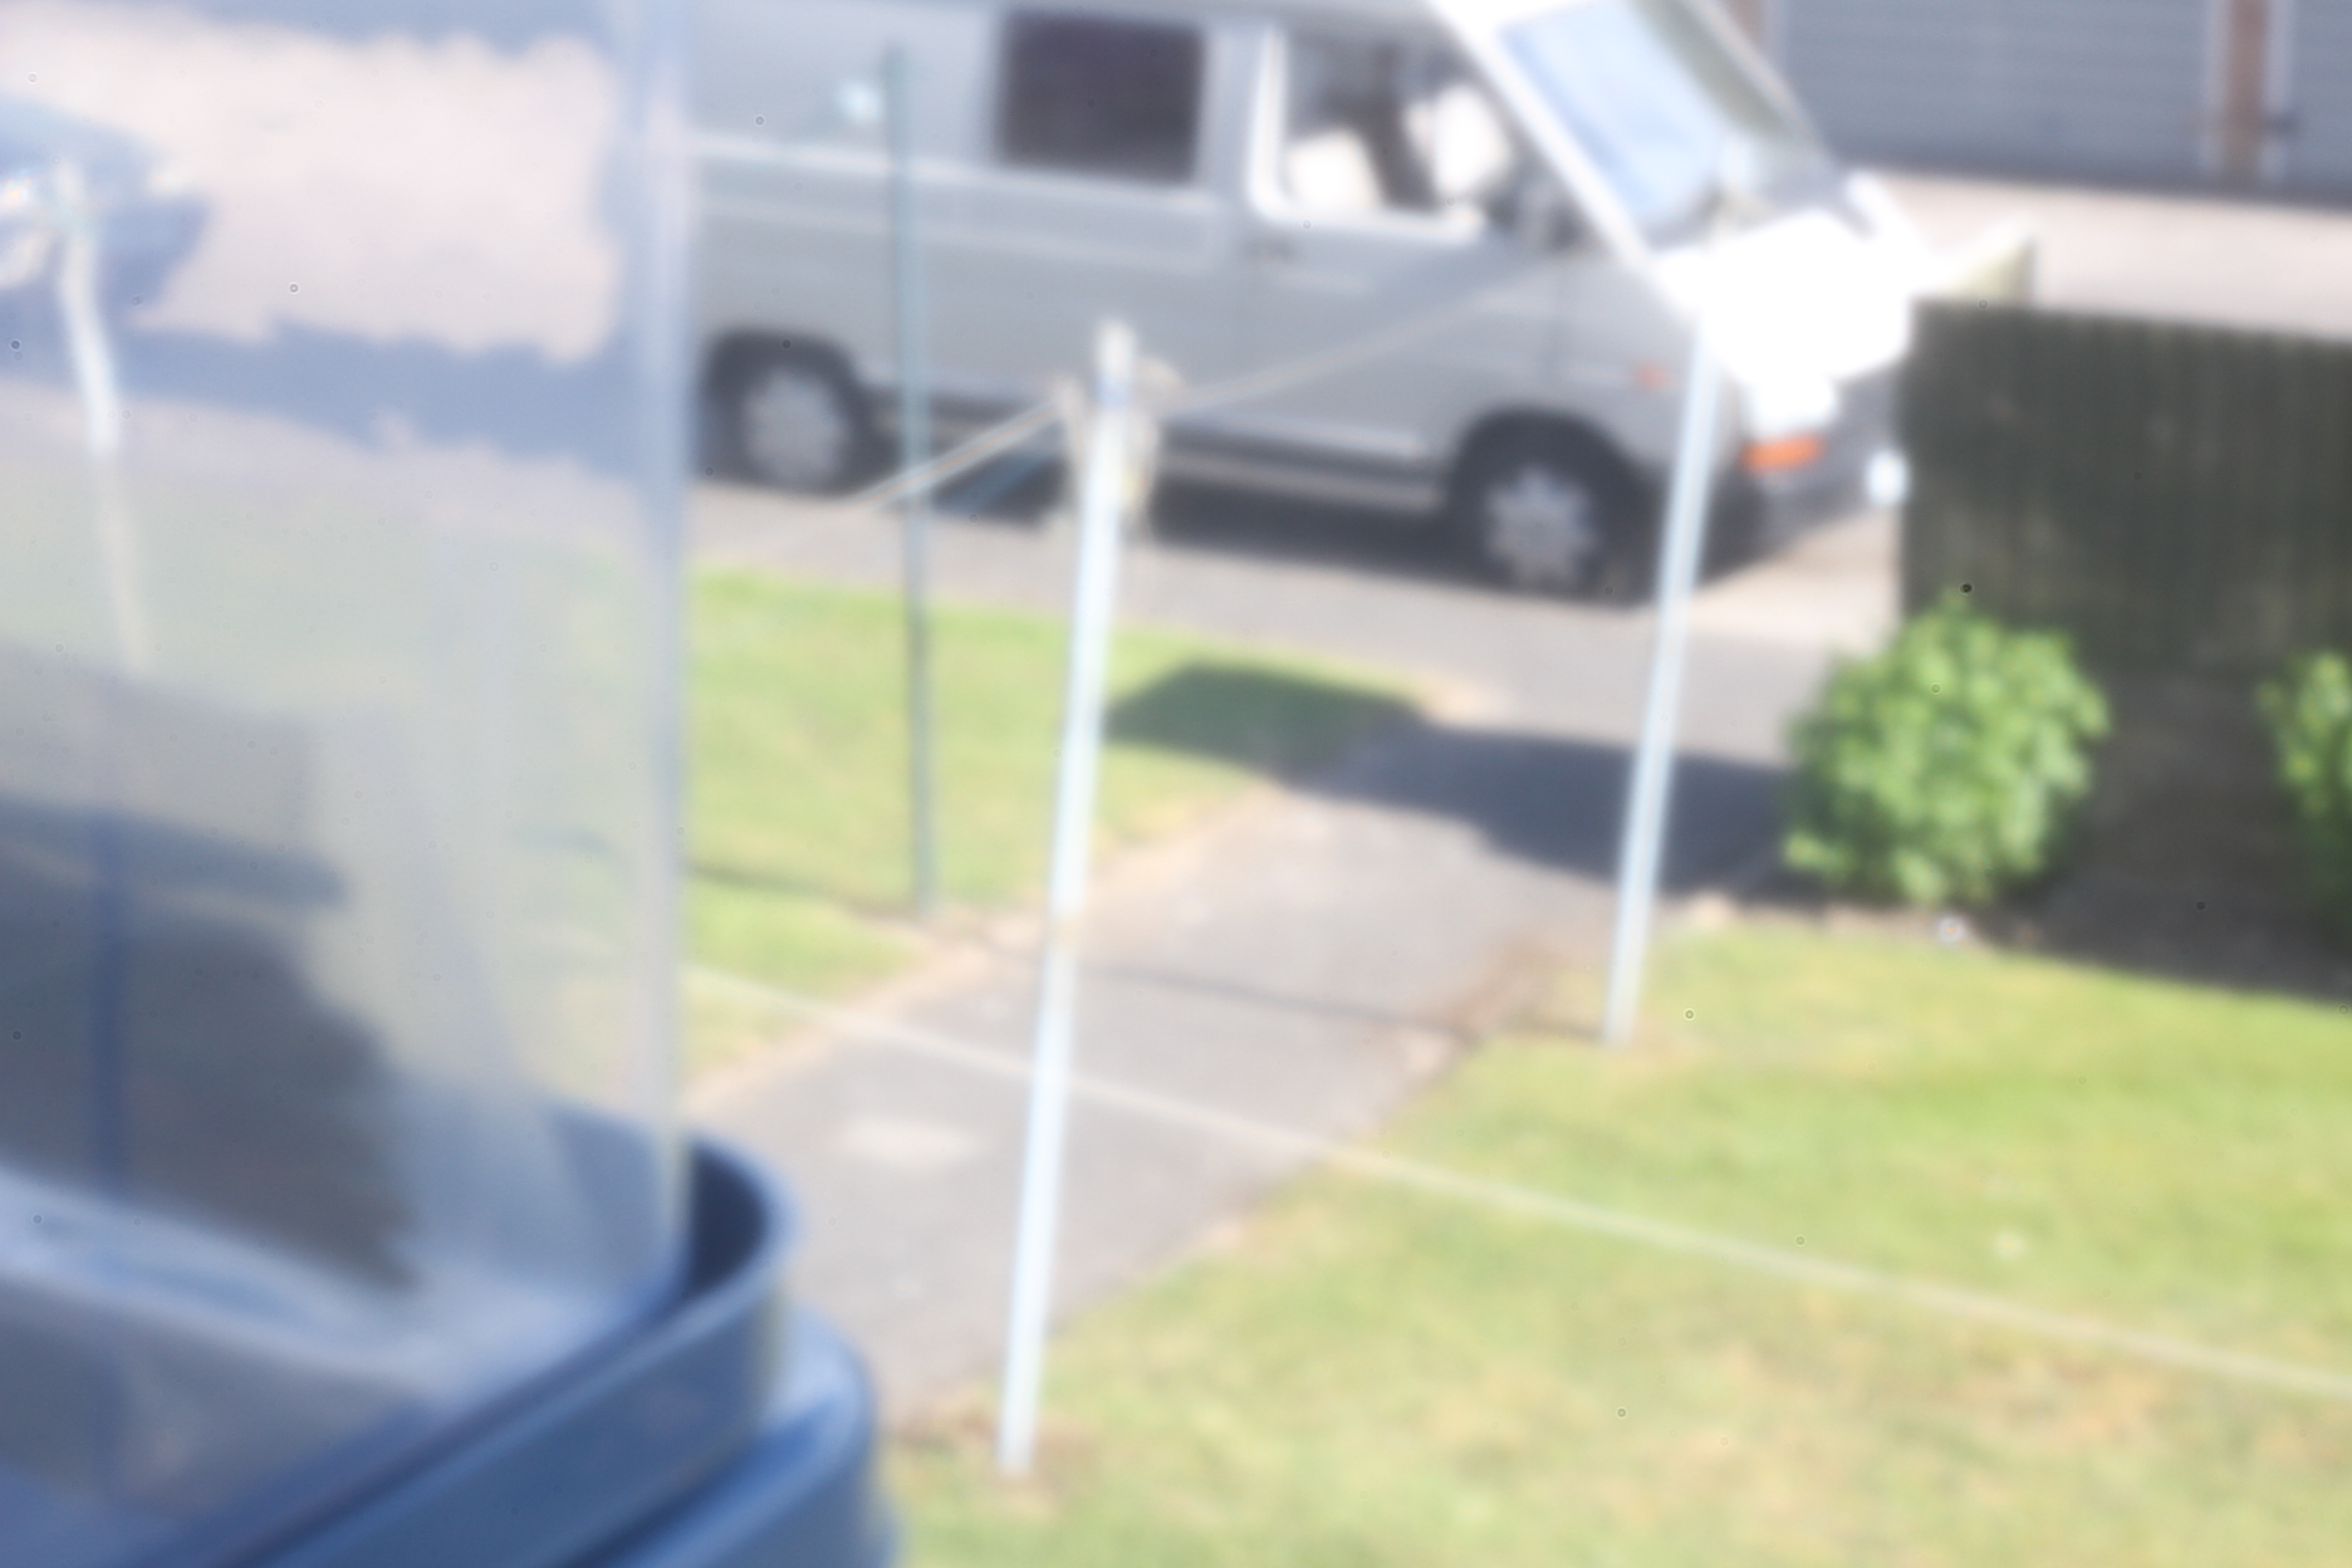 But notice how both the car and the box are equally in focus!
Third attempt
Even though by now I had read more about the importance of the hole precision, the inner box reflections and all the other aspects of proper positioning and diffraction, I was aiming to achieve the 0.3mm hole which in theory was the ideal for a camera with 44mm flange distance and APS-C sized sensor (according to Mr.Pinhole). This time I went back to the dent and sand method.
 Barely notice the difference, but it is slightly smaller
 Still quite blurry, but somewhat interesting artefacting going on
 To be honest at this point this feels like macro photography
After thoughts
So, if you read a lot more, it turns out smaller pinholes aren’t going to be more in focus either. So if I were to continue with this in the future I think I’d focus on going out and trying to take my time and build a film box, like in this instructable. And/Or 3D print an adapter to hold shims, all painted black and taking great care in making the holes in the shim precise and offset to the correct positions. I think I could achieve much nicer photos like that.
However already this was meant to be a 20min project which spiralled a little out of control, and primarily I should just go outside and try it out in the field, so i’ll just have to do as they say:
Embrace the blurriness
Credit
Copyright © 2023 Pandalism